In the previous post we began assembling the printer and spent some time getting the Z axis square. The servos come with quite a few cables and I hope to get them tucked away before continuing to assemble the printer.
As I mentioned earlier, keeping this printer compact was very challenging and the reasons for that will start to become apparent. In an ideal world I would be cutting all the servo cables to length, but that is a horrendously labor-intensive process and I'd rather not permanently deface these (moderately expensive) servos.
Instead I've coiled the excess wiring under the printer and am holding it in place with Velcro straps.
Its not a very pretty solution, but nobody will see the mess after the printer is assembled. In fact with the sheet metal in place the bottom of the printer looks pretty sharp!
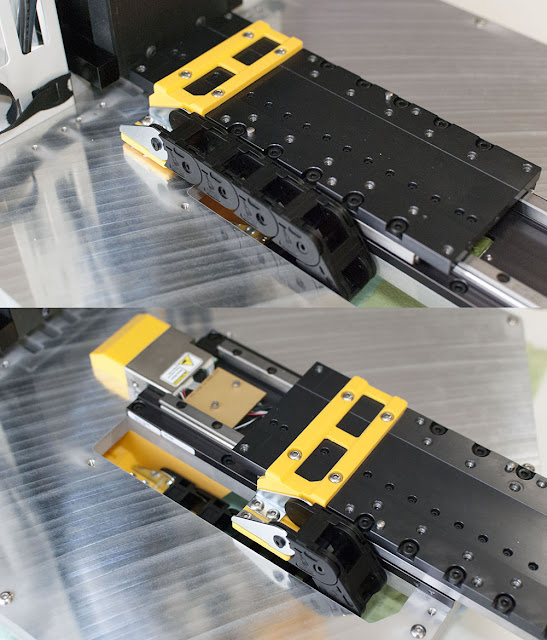
The bed wiring will be routed though cable chain that travels in a cutout in the base plate.
Things speed up a little here since I wasn't taking as many pictures as I should have. The X axis stage has been installed along with its cable chain, and I also did a test fit of the cover panel just to make sure I can get it in and out.
I test fit the Smoothieboard and power supply to make sure they have enough clearance, and connected the servo cables to their drives.
The X axis servo wiring is hidden by a printed cover, and Velcro is used to prevent the cables from chafing in the cable carrier.
I decided to go back make some more adjustments to the wiring below. Its actually looking alright everything considered, and any additional wires that travel through the base will be discrete and cut to length.
The Smoothie to Servo wiring is messy but will fit. I may go back and trim these cables if I need more space, but that would be a bit of a chore.
One potential risk of coiling and crowding my cables together is electrical interference. The servos I am using can produce some pretty nasty EMI as they draw up to 72V/5.5A though high frequency PWM.
To mitigate this I've been careful to follow all the EMI guidelines, such as the pictured 360 degree grounding of the power cable. As well, all the wiring to and from the servos are fully shielded.
Finally I ran power to the servos and did a quick to make sure everything is working properly.
It looks a little messy but this is about as bad as it will get.


No comments:
Post a Comment